Installing the IBM Deployment Pack

You can install the IBM Deployment Pack on a Windows® server that is running Microsoft System Center Configuration Manager 2007. You can also install the IBM Deployment Pack on a machine that is running a secondary console.

  1. If you must install Configuration Manager 2007, prepare to install the Configuration Manager 2007 prerequisites on Windows Server 2003 with SP2 applied, as described in Technet: Prerequisites for Installing Configuration Manager.

    Select the Primary site option in the Configuration Manager 2007 Prerequisite Checker that runs as part of the setup program.

  2. If necessary, install Configuration Manager 2007 on the Windows Server 2003 SP2 server, as described in Installing a required Configuration Manager site and database.
  3. Install Windows Automated Installation Kit (WAIK) for Windows Vista SP1 and Windows Server 2008, if you have not already installed it, WAIK is available at Microsoft Download Center: AIK.

    If Configuration Manager 2007 SP1 is installed, you probably already installed the correct version of WAIK as a prerequisite.

    See Task sequence fails at “Apply Operating System” with “Failed to make volume X:\ bootable” for information about the problem that can occur if you do not install the WAIK update for Windows Vista SP1 and Windows Server 2008.

    All other prerequisites for the IBM Deployment Pack are installed when installing the Configuration Manager components.

    The Deployment Pack installation makes copies of the WinPE instances that were loaded by WAIK, and then adds Configuration Manager and IBM® Toolkit features to the images. Because most of this data comes from your own server, the installer has trouble predicting the total amount of space that is required.

    The installer therefore cannot warn you about the free space on your disk being too small. Typical installations require slightly less than 800 Mb of disk space, so the best practice is to be sure there is at least 1 Gb of free space available before beginning the installation.

  4. If necessary, download the Deployment Pack from the Microsoft Systems Management Solutions for IBM Servers page.
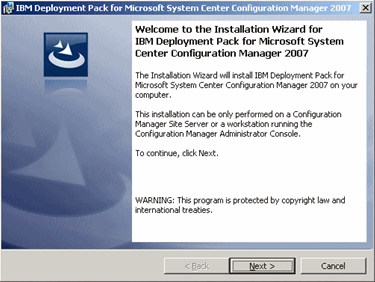
  5. Start the installation of the IBM Deployment Pack by double-clicking on the Windows Installer package file (.MSI).
    After initializing, the start page appears.
    Figure 1. Installation wizard for the IBM Deployment Pack
    Installation wizard
  6. Click Next to go to the License Agreement page.
  7. Accept the license agreement to continue; then click Next.
  8. Choose the installation type you wish to perform; then click Next.

    If you are installing onto a computer that has only the Administrator Console installed, you will only be able to select the Administrator Console feature.

    If you are installing to a Configuration Manager site server, all features are available and pre-selected. You cannot deselect certain features such as the Administrator Console and WinPE updates.

  9. If you chose the Custom installation, you can modify some components of the installation. You can also change the target path of some components. Click Next to continue.

    Do not change the path to a location that is not on the site server. Only local paths are supported at this time.

  10. Click Install to begin the installation process.
    Figure 2. Installation wizard as it installs files for the IBM Deployment Pack
    Installation wizard as it installs files

    As the installation continues, you might see a blank status bar with a status that might not change for several minutes. This is normal. If any errors occur during installation, you are notified appropriately.

  11. When the installation is complete, a final page is displayed. You then have the option to launch several actions by selecting appropriate check boxes.
  12. Click Finish to exit the installation.