You can run Sysprep on a reference computer running Windows® XP or Windows Server 2003.
About this task
The System Preparation Tool (Sysprep) utility is located on the Windows product CD in the /Support/Tools/Deploy.cab file. Extract this CAB file to get sysprep.exe, setupcl.exe, setupmgr.exe, deploy.chm, ref.chm, and other programs and help files.
- Create a Sysprep.inf file by issuing the setupmgr.exe command
to start the Setup Manager dialog.
The Sysprep.inf file is used to customize each computer and to specify the information for the prompts during setup. You can also create a Sysprep.inf file manually.
The following page is displayed:Figure 1. Setup Manager program dialog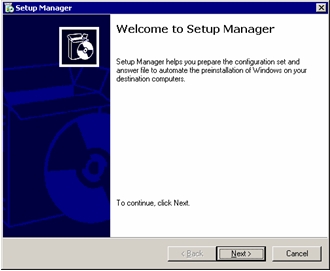
- Click Next. The following page is displayed:Figure 2. Setup Manager: Creating a new answer file
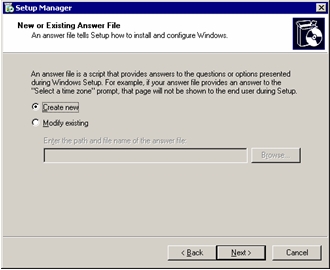
- Click Create new; then click Next. The following page is displayed:Figure 3. Setup Manager: Type of Setup
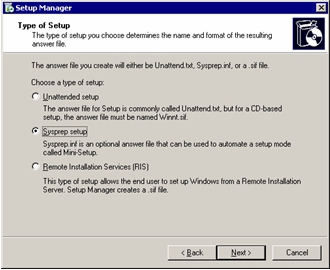
- Click Sysprep setup; then click Next. The following page is displayed:Figure 4. Setup Manager: Windows product
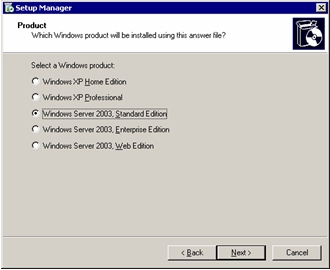
- Click the Windows product
version, such as Windows Server
2003 Standard Edition. The following page is displayed:Figure 5. Setup Manager: License Agreement
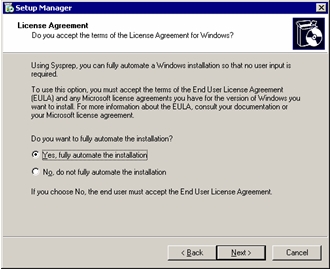
- Click Yes, fully automate the installation;
then click Next. The following page is displayed:Figure 6. Setup Manager: Name and Organization
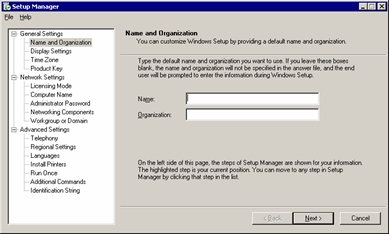
- Enter information into the Name field
and the Organization field; then click Next. The following page is displayed:Figure 7. Setup Manager: Display Settings
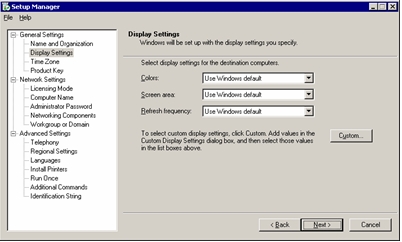
- Select a time zone; then click Next. The following page is displayed:Figure 8. Setup Manager: Product Key
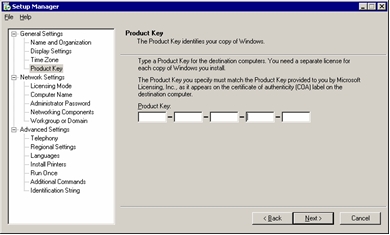
- Click Next to accept the defaults
for Computer Name. The following page is displayed:Figure 9. Setup Manager: Administrator Password
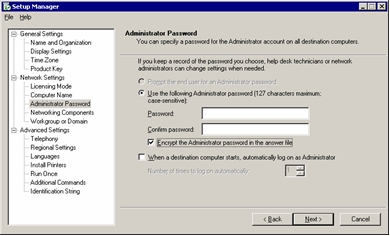
- Click Next to accept the defaults
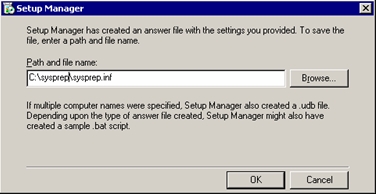
for Run Once. The following page is displayed:Figure 10. Setup Manager: Path and file name